AirVocacy: GenAI Speaks out for Clean Skies
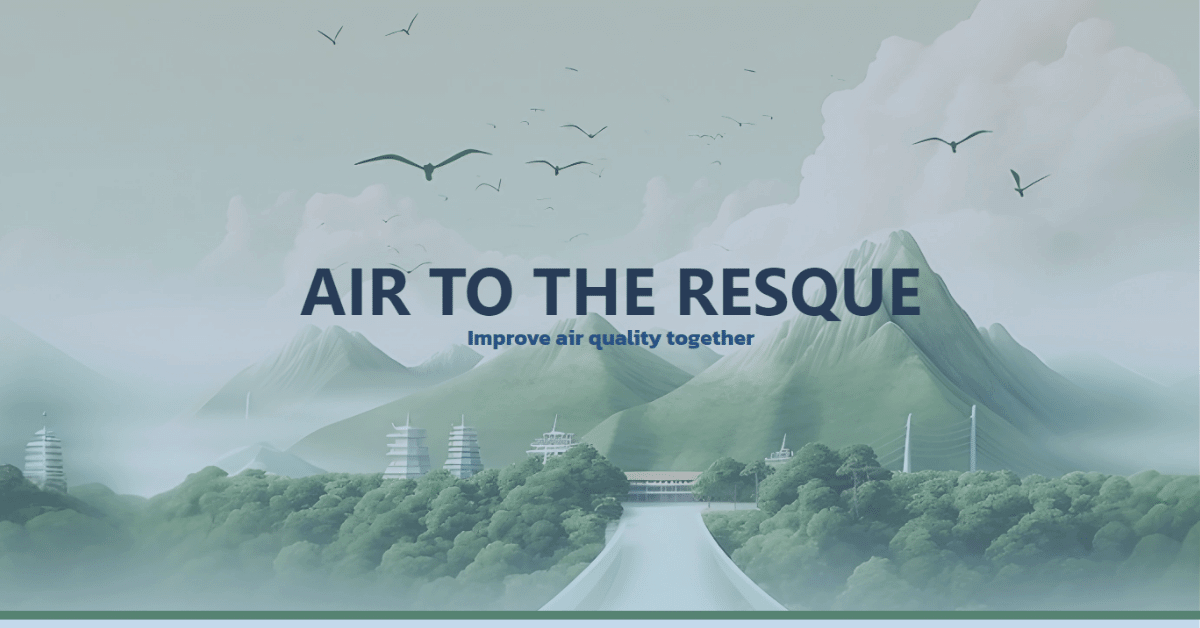
This year, we took part in the Air Quality Hackathon, organized by the Tech to the Rescue. This event brought together tech enthusiasts, all driven by a common objective: to innovate solutions for better air quality. We teamed up to support the Thailand Clean Air Network, driven by a goal to significantly improve air quality in Thailand. Our efforts didn’t go unnoticed — we proudly secured a spot in the 🏅 Top 3 Projects of the entire hackathon. Our approach earned us the 🏆 Best Project in the Group award. And to top it off, we captured the essence of our team’s spirit and mission, winning the 📸 Best Photo Award. Dive into our story to find out how we tackled this challenge and learn how to easily build your own meme generator
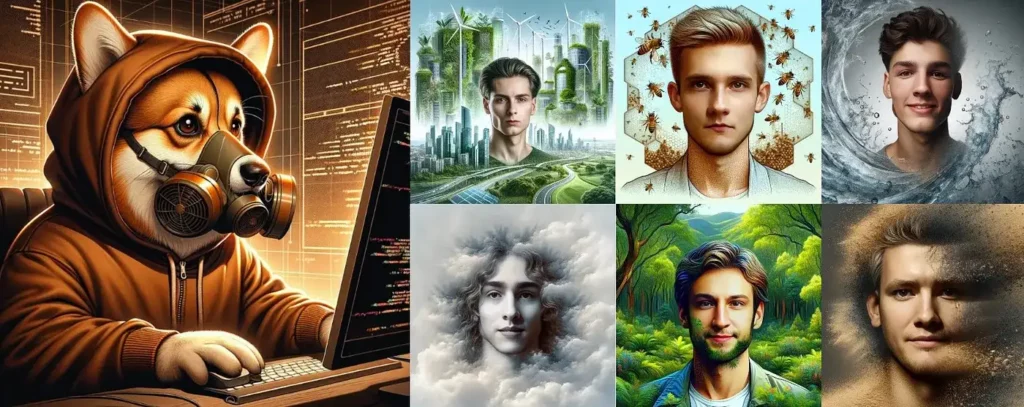
The main challenge outlined in the challenge description was “A tech solution to bridge the gap between legal jargon and people’s lives, empowering support for cleaner air legislation with personalized information”. So we started with the idea of a chatbot that searches for information in the text of the Thailand’s Clean Air Management Legislation while simplifying the legal jargon to make it understandable to everyone. But… When the hackathon hosts told us more about the goal of the challenge, we had to expand our project. The additional criteria was to encourage people between the ages of 20 and 35 to take an interest in the problem of air pollution and show what a problem it is in the region where they live.
We decided to create a whole web app with different functionalities:
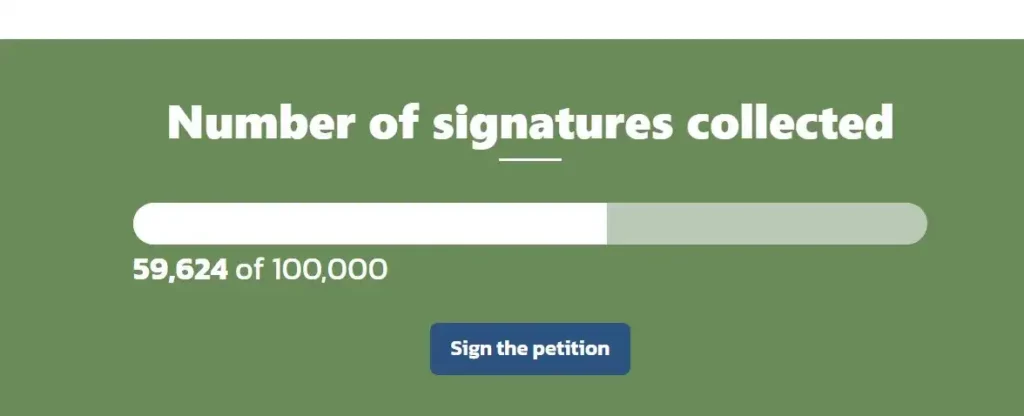
- Signature Counter: The Signature Counter in our app displayed the growing number of signatures for the Thailand Clean Air Network’s petition, aiming to reach over 100,000 signatures to push forward crucial Clean Air Management Legislation. This feature served as a motivational tool, highlighting the collective effort and urging more people to join the cause.
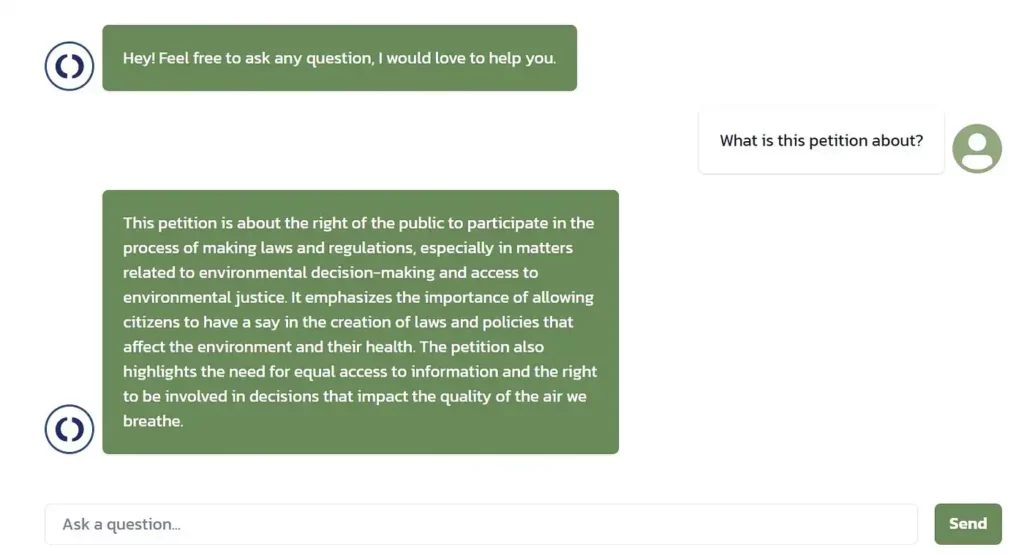
2. Chatbot for Understanding Legal Terms: We kept our original idea of the chatbot, but made it just one part of the app. The chatbot was designed to make it easier for people to understand complicated legal terms about air quality laws. It answers questions about the content of the Clean Air Management Legislation by simplifying legal jaron
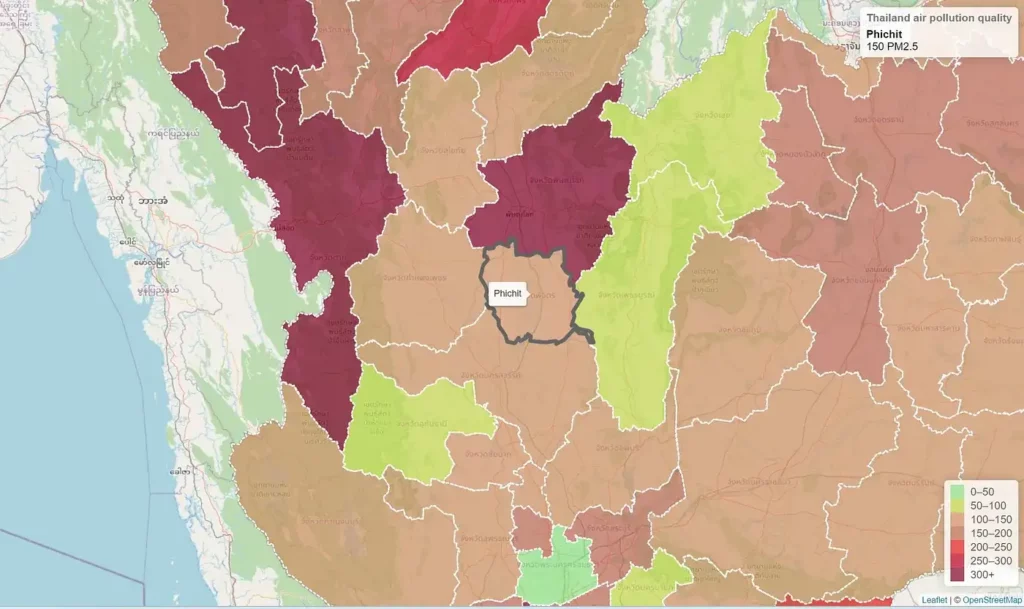
3. Air Quality Map for Thailand: Our interactive map effectively visualized pollution levels across the country. Leveraging open source data and information from around 2,000 sensors, this map offered a detailed view of air quality in various regions. Created with PostGIS, a tool for spatial database extensions in PostgreSQL, it provided a clear, geographic representation of air pollution.
4. Meme Generator: The last part, and maybe the most fun, was a meme generator. It let people create their own memes about air pollution. We thought this could be a good way to get people talking and thinking about air quality.
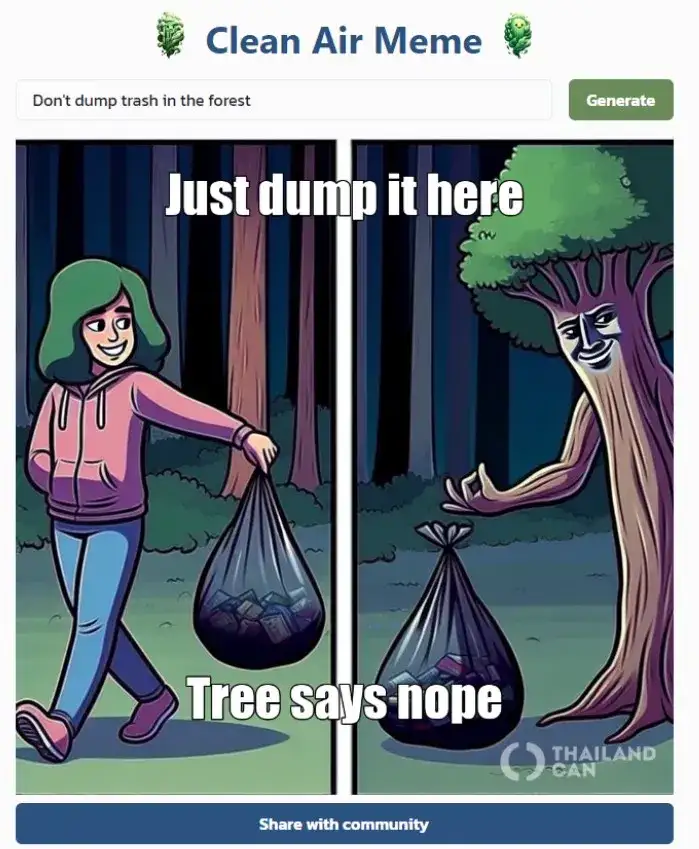
How to build meme generator?
We are very proud of all the functionalities, but in this post I would like to introduce you to meme generator — how to easily build your meme generator? We need 3 steps to do that.
First Step — Creating Images with Dalle-3:
| def generate_image(prompt): client = OpenAI() response = client.images.generate( model=”dall-e-3″, prompt=prompt, size=”1024×1024″, quality=”standard”, n=1, ) return response |
Our response is the object, where we have the timestamp of the generated image, the url of the image and “revised_prompt”. For security reasons, OpenAI rewrites the prompt to its own, making sure it meets ethical guidelines and also ensures enhancing diversity and inclusivity. For us, the revised prompt is useful for creating meme text. So we need from our response
| response.data[0].url, response.data[0].revised_prompt |
Let’s take a look at an example of revised prompt
prompt — Tech solution to bridge the gap between legal jargon and people’s lives.
revised_prompt — Envision a highly sophisticated technological solution designed to bridge the disconnect between complicated legal terminology and everyday life. This could be portrayed as an advanced app on a computer screen, featuring an interface that translates dense legal texts into simple, accessible language. The scene may also incorporate users of different genders and descents, such as a Hispanic woman and a South Asian man, engaging with this technology, thereby highlighting its practicality and user-friendliness.
Second Step — Coming Up with Captions using GPT-3.5:
Ok, we have an image. We need the text. Specifically, the top and bottom captions of the meme. Let’s define ourselves a function generate_meme_text. It will have arguments such as context, image_description and model. In the function, we will define a parser, so as to structure the output from our GPT-3.5. Then we will throw in a prompt with the context and image description injected, so that it matches the image as closely as possible.
| from langchain.output_parsers import PydanticOutputParser def generate_meme_text(context, image_description, model): parser = PydanticOutputParser(pydantic_object=Meme) prompt = meme_prompt_template(context, image_description, parser.get_format_instructions()) output = model(prompt.to_messages()) return parser.parse(output.content) |
| from pydantic import BaseModel, Field class Meme(BaseModel): name: str = Field(description=”Meme name”) top_text: str = Field(description=”Upper text of meme”) bottom_text: str = Field(description=”Lower text of meme”) |
Our prompt will ask you to generate the top and bottom caption of the meme, let it be funny and sarcastic. Make sure that both texts are not too long.
| from langchain.prompts import ChatPromptTemplate, HumanMessagePromptTemplate def meme_prompt_template(context, image_description, format_instruction): template = “”” Create top and bottom text for a funny, sarcastic meme based on context and image description \ Information. Keep to a maximum of 5 words in the top text and 5 words in the bottom text. {format_instruction} Context: {context} Image Description: {image_description} “”” prompt = ChatPromptTemplate( messages=[HumanMessagePromptTemplate.from_template(template)], input_variables=[“context”, “image_description”], partial_variables={“format_instruction”: format_instruction}, ) return prompt.format_prompt(context=context, image_description=image_description) |
Simple right? Let’s display the captions and watermark on the image and you’re done!
Third Step — Adding Captions and Watermark with Pillow:
You can customize the code below, for ease of use I have added comments to each line
| import io import textwrap import requests from PIL import Image, ImageDraw, ImageFont def add_logo_watermark(main_img, logo_img_path, position=(0, 0), opacity=128): # Open the logo image logo_img = Image.open(logo_img_path) # Create an alpha mask for the logo image to set its opacity alpha_mask = logo_img.split()[3].point(lambda p: p * opacity / 255) # Get the size of the main image main_img_width, main_img_height = main_img.size # Get the size of the logo image logo_width, logo_height = logo_img.size # Calculate the position of the logo to be in the bottom right corner x, y = main_img_width – logo_width – 20, main_img_height – logo_height position = (x, y) # Paste the logo onto the main image using the alpha mask for transparency main_img.paste(logo_img, position, alpha_mask) return main_img def draw_centered_multiline_text(draw, image_size, text, position, margin, box_width, font): # Get the size of the image image_width, image_height = image_size # Wrap text into multiple lines based on the specified width lines = textwrap.wrap(text, width=box_width) # Set the starting y position based on the text position (top or bottom) y = margin if position == “top” else image_height – margin # Draw each line of text on the image for line in lines: # Get the size of the text box line_width, line_height = draw.textbbox((0, 0), line, font=font)[2:] # Calculate x position to center the text x = (image_width – line_width) // 2 # Draw the text on the image draw.text((x, y), line, font=font, fill=”white”, stroke_width=2, stroke_fill=”black”) # Move to the next line y += line_height def add_meme_text(image_url, top_text, bottom_text): # Fetch the image from the given URL response = requests.get(image_url) img = Image.open(io.BytesIO(response.content)) # Prepare to draw on the image draw = ImageDraw.Draw(img) # Define parameters for the tex font_size, top_margin, bottom_margin, text_box_width = 80, 40, 200, 800 font_path = “TR Impact.TTF” # Load font, use default if font path is not available font = ImageFont.truetype(font_path, font_size) if font_path else ImageFont.load_default() # Draw the top and bottom texts draw_centered_multiline_text(draw, img.size, top_text, “top”, top_margin, text_box_width, font) draw_centered_multiline_text(draw, img.size, bottom_text, “bottom”, bottom_margin, text_box_width, font) # Path to the logo image for watermarking logo_img_path = “can_logo_white.png” # Add a logo watermark add_logo_watermark(img, logo_img_path) # Return the final image return img |
That’s it! A quick way to create your own meme generator. Now you can use these functions to create your meme generator!
Feeling inspired? Enter the world of future Tech to the Rescue hackathons. A unique chance to innovate, connect, and impact the world. Join us in this exciting journey of technological exploration and social change.


